Last year I was in Angling Active and purchased a few nice wee dry flies, not so much for fishing but to copy. Plaigerism is the sincerest form of flattery they say, but its also a good idea I find, when you are learning to tie some patterns to have an example at hand that lets you get your dimensions right. Tying a fly that looks right is a careful balancing act of getting the dimensions of body, tail wings and hackle to look “right”. Its not always that easy without something the right size in front of you. This pattern ( I don’t honestly recall what it was bought “as” . It might have been a Greenwells Glory dry- with more of a primrose body) was a fairly traditional upwing dry fly. I have called it an upwing yellow dun. I have steered clear of traditional upwing flies as I find the wings are pretty difficult to get right. This however I think comes down to lack of practice on my part and not using the right materials. I read somewhere that Starling wing feathers are the best for this purpose, and right enough they are far easier to work with, get the right scale and they seem to be less prone to splitting when you pinch and loop them. So I had a go and I feel it came out not bad. The pattern is one I used with some success last year at Bowden Springs, so have tied half a dozen. The colour can be varied to match the hatch, you can use thread instead of micro-wire if you choose, the wire is so fne it does not add any significant weight to the fly at all. If you like your fly to sit lower to the water clip the bottom of the hackle when you are on the water to your preference
If you fancy a go the materials I used were:
- Hook: Fine wire dry fly hook size 10-16 ( 12 in this SBS )
- Thread: body: Yellow Semperfli Nano Silk – colour can be varied to suit your requirements.
- Rib: Brown Flybox Microwire- you can use thread instead if you prefer
- Tail: Red Game Cock Hackle feather fibres
- Hackle: Genetic Brown Cock Saddle feather
- Wings: Slips from Starling wing feathers- same feather off each wing
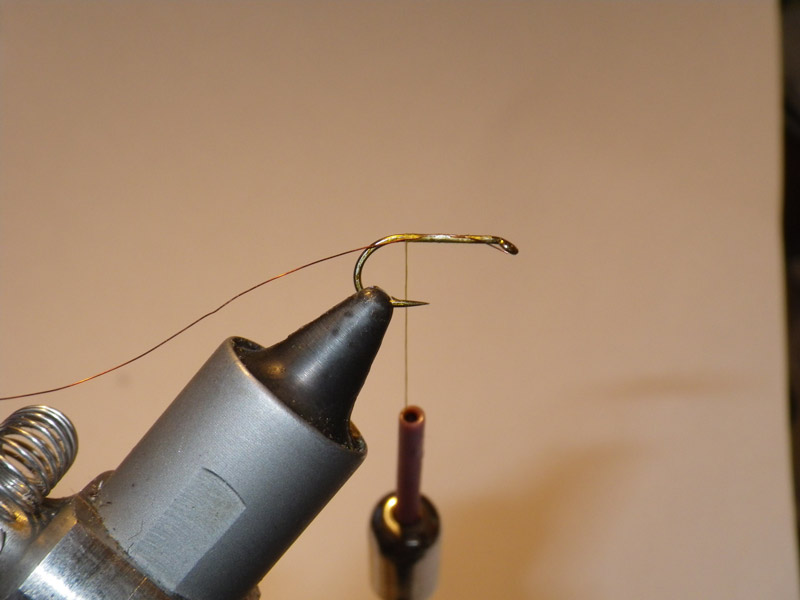
Tie on thread behind Eye and catch in brown micro wire back to a point opposite barb
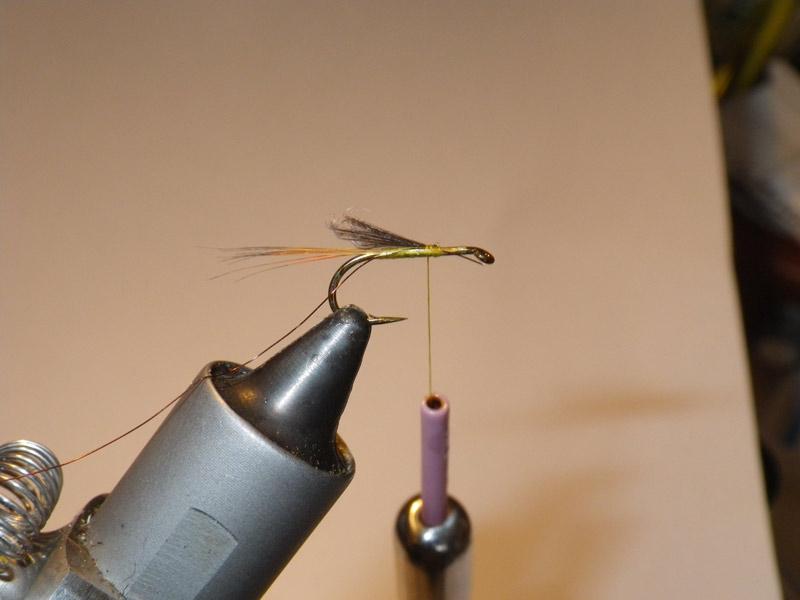
Catch in approx 6 Red game or brown cock hackle fibres to be about 1- 1,5 times the lenght of the body. Wrap it in tightly to a point about 4 mm short of eye then fold over and wrap back over again for a few mm. This helps form the tapered body
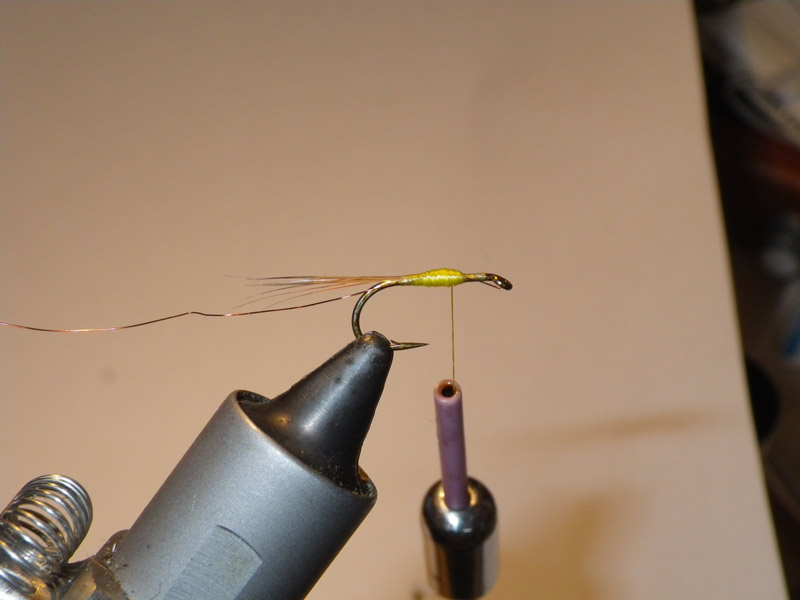
Build up a nice tapered body in thread leaving space between eye and built up thread for hackle
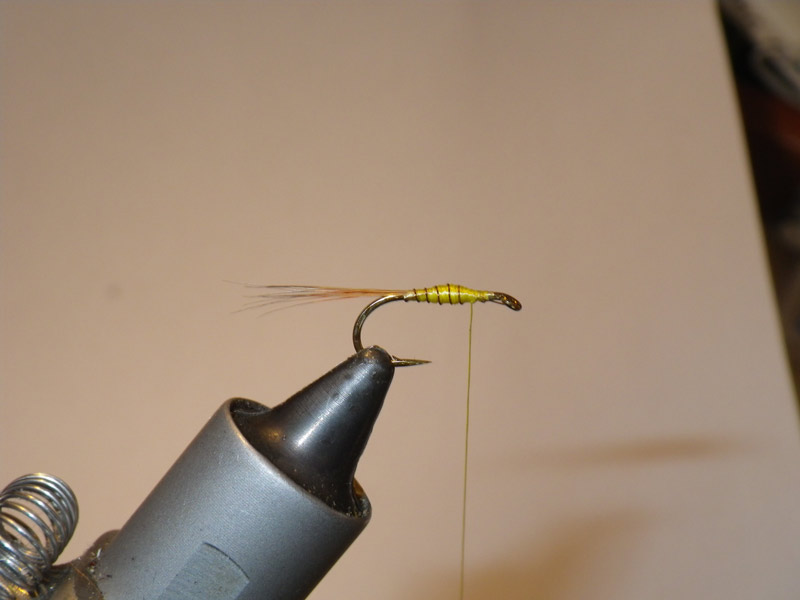
Wind wire rib up body in open even turns. Keep it tight while tying off and break off excess.

Take two slips of Starling wing feather and pair them up with the curve out the way- ie the points should be separating from each other. Use a pinch and loop to firmly tie down the wing and wrap back towards body Nip off excess.
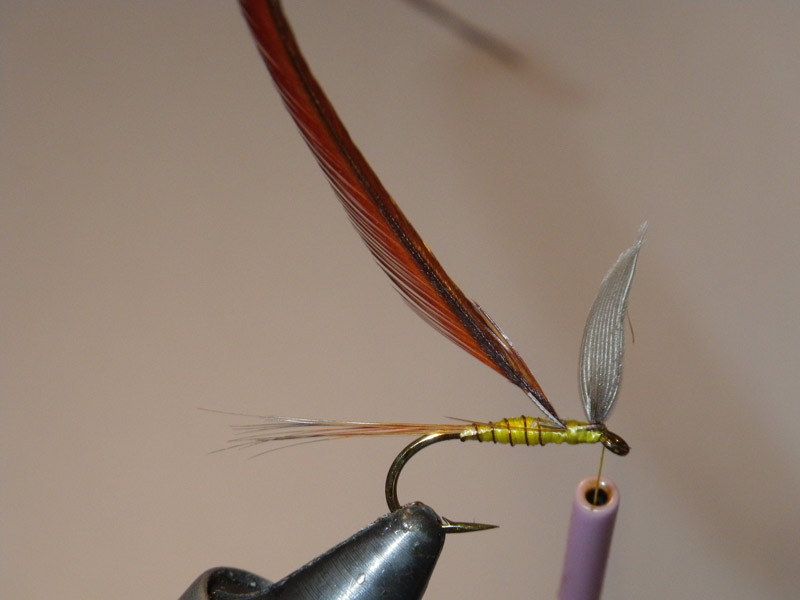
Tie in a suitably sized Genetic cock hackle with shiny ( front ) side towards you. take thread wraps in front of wing and use it to lift and support the wing. Lifts and separates beautifully dont you know 🙂
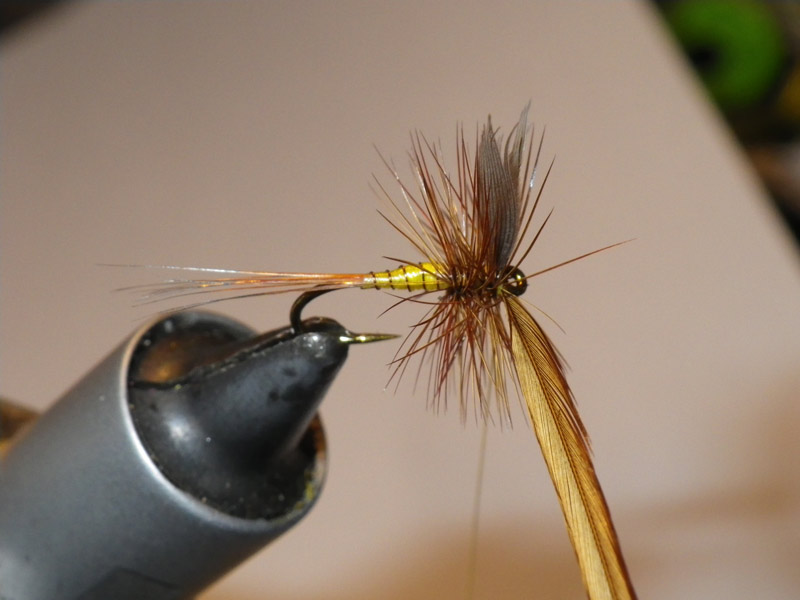
Wind Hackle up in close touching turns. Try get 4 wraps behind wing then a further ( ideally) two wraps in front of wing. Lock off with tight thread wraps to secure. Cut away excess and tie a nice neat thread head and whip finish
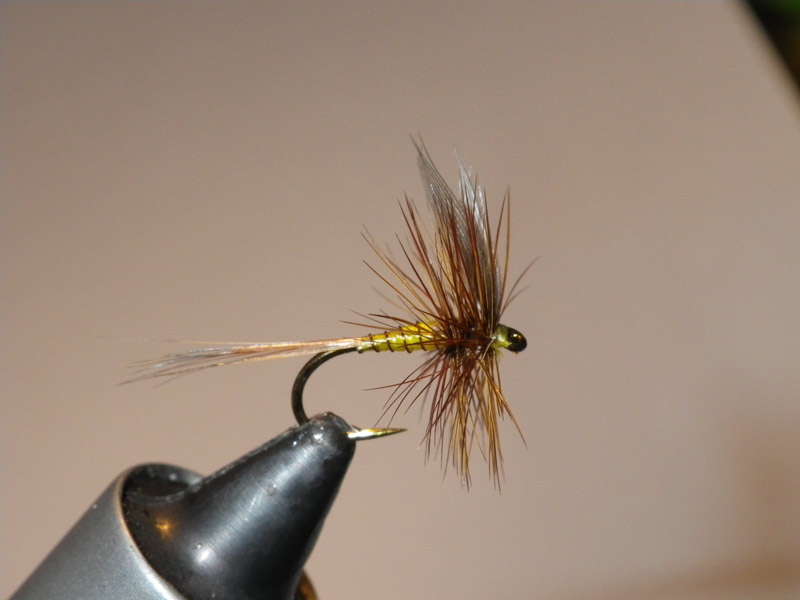
The finished fly. You could use different colours to match the hatch. This one is a size12 but 10 to 16 would seem reasonable for most purposes


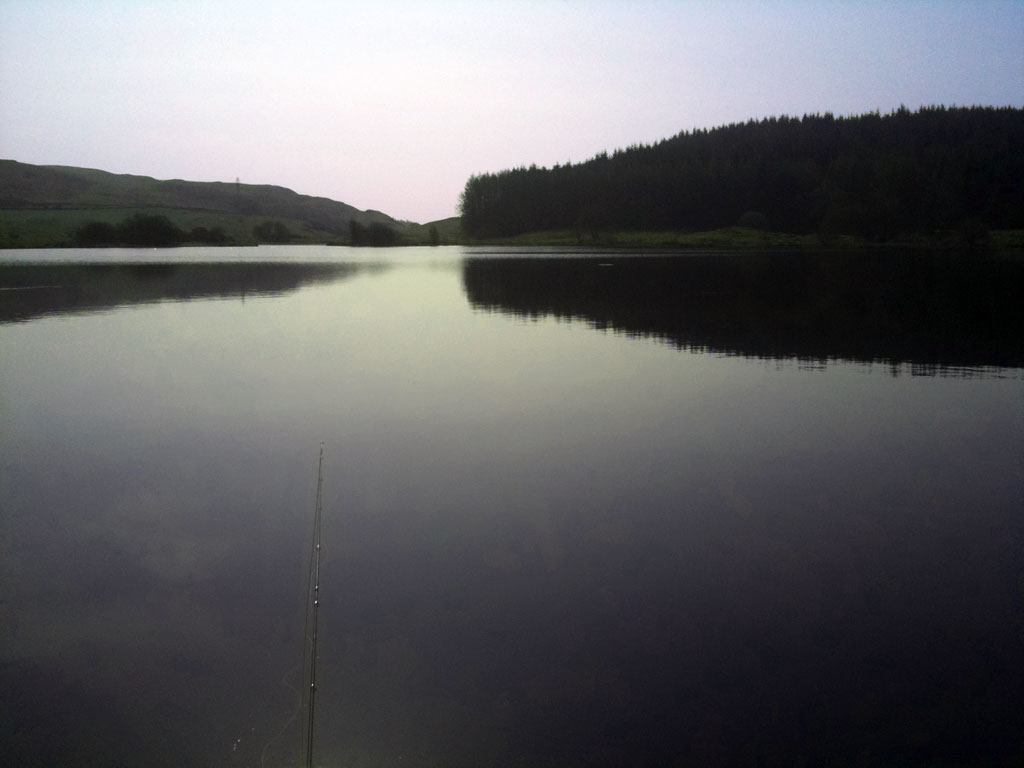




Very nice tie. I’m sure it will do well for you over the season.
really nice fly,thanks for the info,looks like a real fish catcher.